
As global temperatures continue to climb, staying comfortable during the sweltering summer months is an absolute necessity. However, the relief of a cool home often comes with the sting of skyrocketing electricity bills.
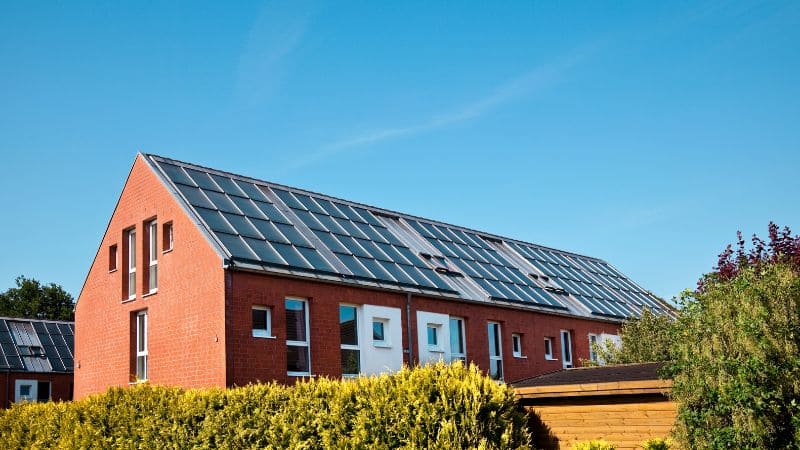
Enter renewable energy: investing in solar panels for AC provides an eco-friendly and affordable alternative to conventional grid electricity. Building a DIY solar-powered air conditioner not only aligns with sustainable living but also offers true energy independence.
This comprehensive guide will walk you through the essentials of designing, sizing, and assembling your own solar AC system. Whether you are cooling a small room, an RV, or a workshop, you will learn exactly what it takes to create a highly efficient solar cooler.
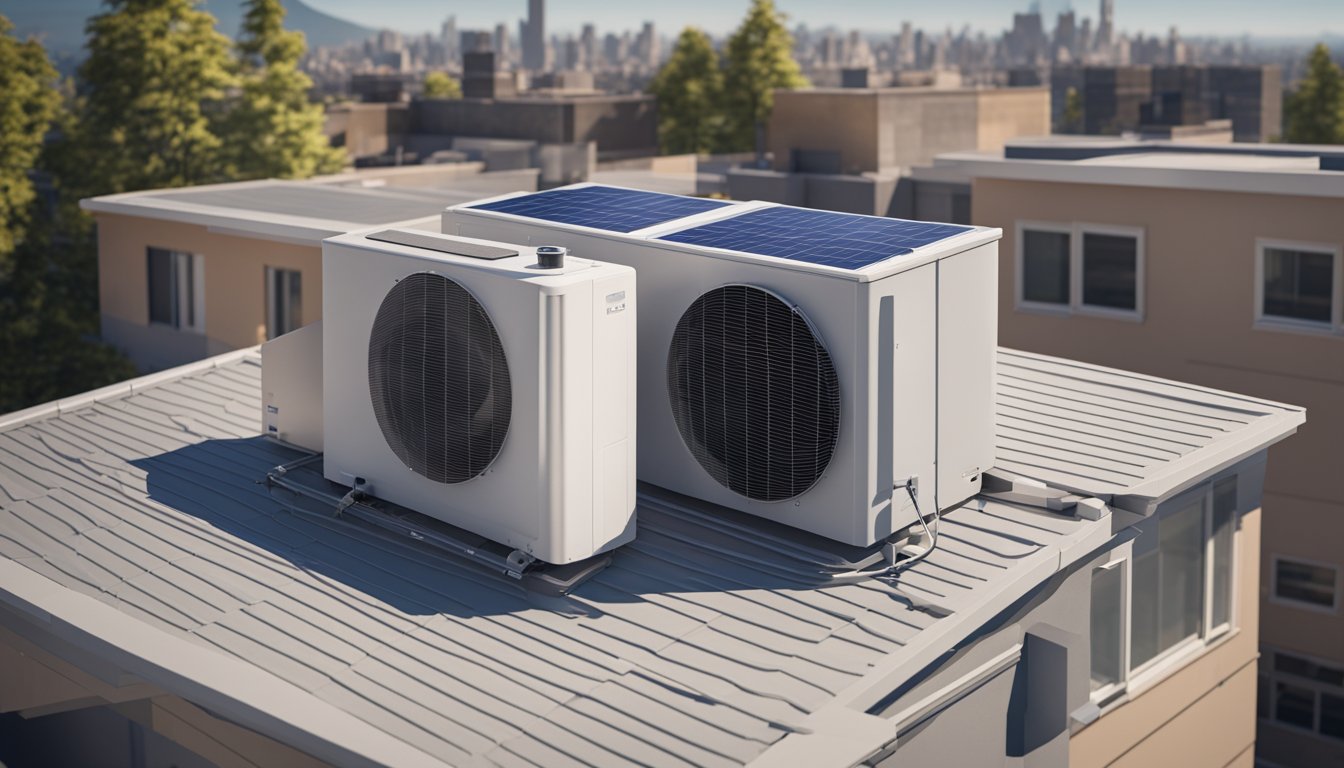
Understanding Solar Cooling Technology
Solar cooling technology harnesses the sun’s abundant energy to operate your air conditioning system. By capturing sunlight and converting it into usable electricity, you can completely offset the massive power draw of traditional cooling appliances.
Before building your system, you must decide how your solar powered air conditioner will interact with the local power grid.
Grid-Tied vs. Standalone (Off-Grid) Systems
- Grid-Tied Systems: These remain connected to your municipal power grid. During the day, your panels run the AC, and any excess power is sent back to the grid. At night or on cloudy days, you automatically draw power from the grid. This setup offers high consistency and lower initial costs.
- Standalone (Off-Grid) Systems: To run completely off-grid, your system must generate and store energy. This requires a robust battery bank to keep your AC running after sunset. While standalone systems offer total energy independence, they require a higher initial investment.
Calculating Your Solar Panel & Energy Requirements
When designing your DIY system, the primary goal is to align your solar panel output with the power consumption of your AC. It all comes down to watts and BTUs (British Thermal Units). One ton of cooling equals roughly 12,000 BTUs per hour.
To find out how many panels you need, calculate your daily energy consumption:
Hours of operation × AC Watts = Daily Watt-hours (Wh)
Next, calculate your panel output:
Solar Panel Rating (W) × Peak Sunshine Hours = Daily Watt-hours (Wh)
Divide your total AC Watt-hours by your panel’s daily output to find the number of panels needed. Remember, modern residential panels typically produce 250W to 400W.
Table 1: Average Power Draw & Panel Sizing by AC Unit
|
AC Unit Size
|
Cooling Capacity
|
Average Power Draw
|
Estimated Panels Needed (Using 250W Panels)
|
|---|---|---|---|
|
Small Window Unit
|
5,000 BTU or less
|
500 W
|
4 – 5 Panels
|
|
Medium Window Unit
|
5,000 – 10,000 BTU
|
900 W
|
8 – 10 Panels
|
|
Large Window Unit
|
10,000 – 15,000 BTU
|
1,400 W
|
12 – 15 Panels
|
|
1-Ton Central AC
|
~12,000 BTU
|
3,500 – 4,000 W
|
14 – 16 Panels
|
Selecting the Right Components
 Choosing the correct components ensures your harmonious solar system maximizes efficiency and sustainability.
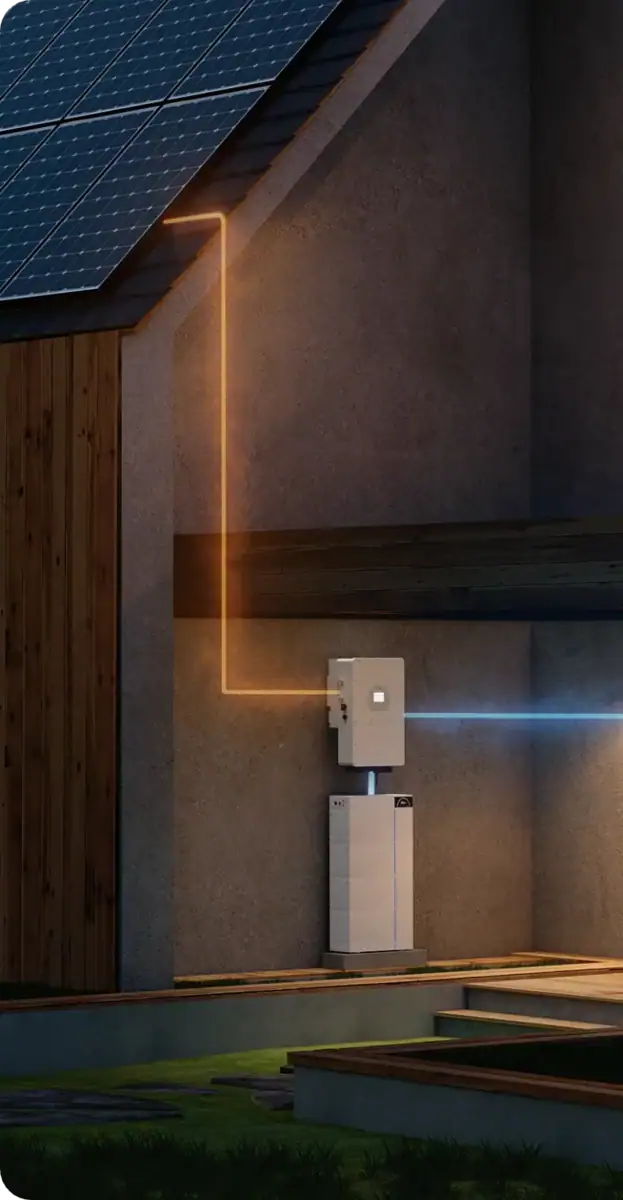
- Solar Panels: These capture sunlight and convert it to DC electricity. Always mount them in open, unshaded areas facing true south (in the Northern Hemisphere).
- Battery Bank (For Off-Grid): Essential for storing energy for nighttime use. You can choose from lead-acid, lithium-ion, or saltwater batteries. Ensure the capacity (Ah) matches your nighttime cooling needs.
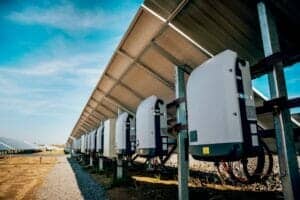
- Inverter: Your AC runs on alternating current (AC), but panels and batteries produce direct current (DC). The inverter bridges this gap. Ensure your inverter is sized to handle your air conditioner’s surge current—the momentarily higher wattage required when the compressor first starts up.
- Charge Controller: This device regulates the voltage and current coming from the solar panels to the battery bank, preventing dangerous overcharging.
Step-by-Step Assembly Guide
While there are many ways to build a solar powered air conditioner, ranging from modifying standard window units to building custom thermoelectric (Peltier) coolers, the basic assembly principles remain the same.
1. Constructing the Frame: Your frame serves as the backbone of your unit. Use PVC pipes or lightweight aluminum for a strong, weather-resistant structure. Ensure there are sturdy brackets for securing the AC unit, fans, or custom heat sinks.
2. Installing Solar Panels and Batteries: Mount the solar panels on a stable surface with the optimal tilt for your latitude. Connect the panels directly to your charge controller, which then connects to your battery bank.
3. Wiring Electrical Components: Create a safe circuit that routes power from the batteries to your inverter, and finally to the AC unit. Use heavy-gauge wiring suitable for the amps and volts your system requires. Ensure all connections are tightly crimped and insulated to prevent shorts.
4. Setting Up Airflow and Controls: Smooth airflow is vital. If building a custom cooler, install an intake fan to draw warm air over a heat sink or cooling agent. Add an inline thermostat or regulator switch to manually or automatically manage power consumption based on the room’s temperature.
Testing and Troubleshooting
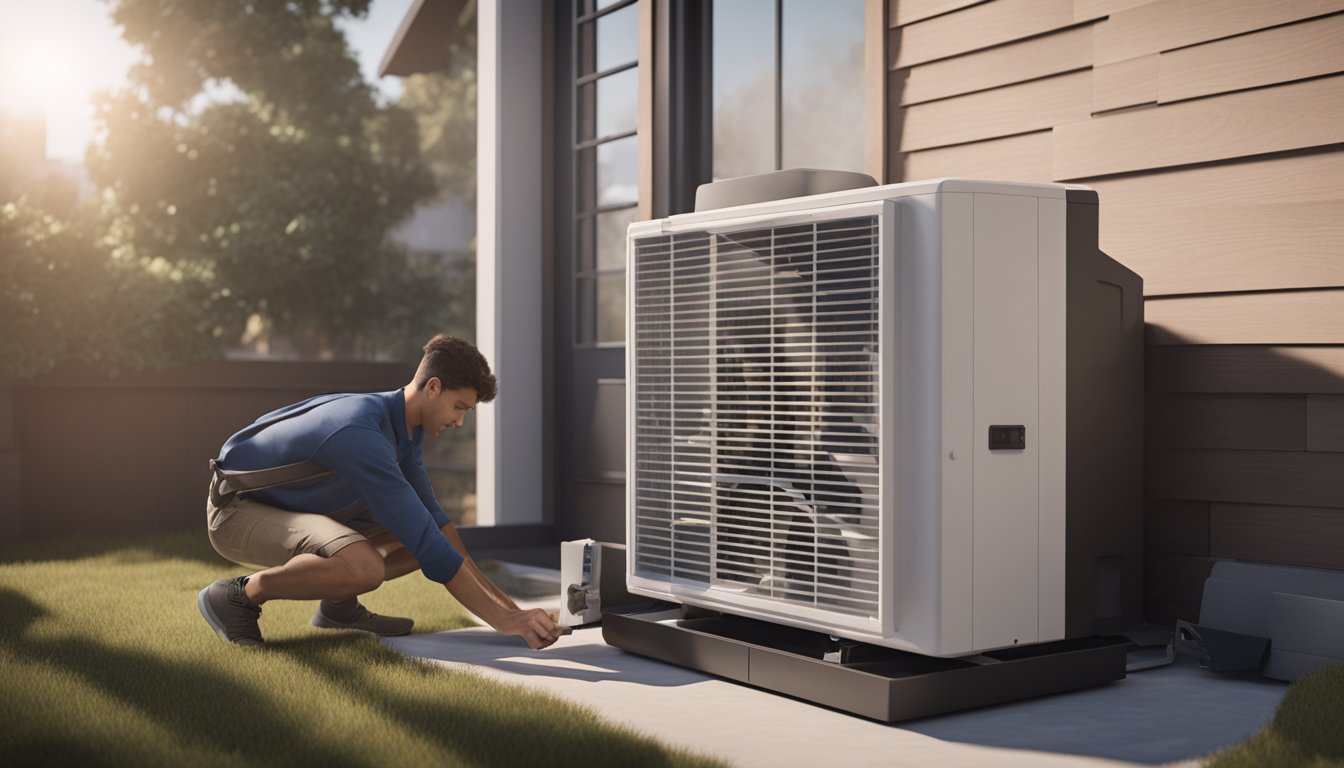 Before relying on your system, perform a comprehensive test. Turn on your air conditioning unit and observe the airflow and cooling capacity.
Table 2: Quick Troubleshooting Guide
|
Issue
|
Potential Cause
|
Solution
|
|---|---|---|
|
No Power to AC
|
Dead battery or tripped inverter.
|
Check battery charge. Inspect wiring for loose ends or corrosion.
|
|
Weak Air Flow
|
Dust buildup or physical obstruction.
|
Clean the fans and ensure air intake/exhaust vents are clear.
|
|
Inconsistent Cooling
|
Poor sun exposure or wrong panel angle.
|
Adjust solar panels to face direct sunlight; trim shading branches.
|
Final Safety Checks
 Before finalizing your setup, run through these critical safety checks:
- Check All Connections: Verify that all wiring is firmly secured and properly wrapped in electrical tape.
- Tighten Screws: Loose mounts can cause vibrations, leading to system inefficiencies or physical damage.
- Inspect Inverter Load: Ensure your inverter is not overheating when the AC compressor surges.
Conclusion
Constructing a DIY solar-powered air conditioner represents a massive step toward sustainable living. By transforming abundant solar energy into a reliable source of cooling comfort, you drastically reduce utility costs and lower your carbon footprint.
While a DIY setup is rewarding, powering a whole home efficiently often requires professional design. If you are ready to beat the heat with a highly optimized system, consult with a certified solar installer today to get a customized quote and find out exactly how many panels you need to power your home!
Frequently Asked Questions
Can just one solar panel run an air conditioner?
No. Even the smallest, most efficient window air conditioners require around 500 watts of continuous power. A single standard residential solar panel typically generates between 250W and 400W, which is not enough to sustain an AC unit or handle its heavy starting surge.
Will my solar-powered AC work at night?
Yes, but it depends on your setup. If you have a grid-tied system, your AC will draw power from your local utility grid at night. If you have an off-grid system, your AC will only work at night if you have installed a sufficiently sized battery bank to store daytime energy.
Do I need a special type of air conditioner to use solar power?
No, you do not need a specialized unit. Standard central ACs, mini-splits, and window units can all be powered by solar energy, provided you have the correct inverter to convert the DC power. However, choosing an AC with a high SEER2 or EER rating will require fewer solar panels to operate.
What happens if it’s cloudy?
Solar panels still generate electricity on cloudy days, but their power output is notably reduced. On overcast days, a grid-tied system will automatically pull supplemental energy from the power grid, while off-grid systems will rely on stored battery power to make up the deficit.