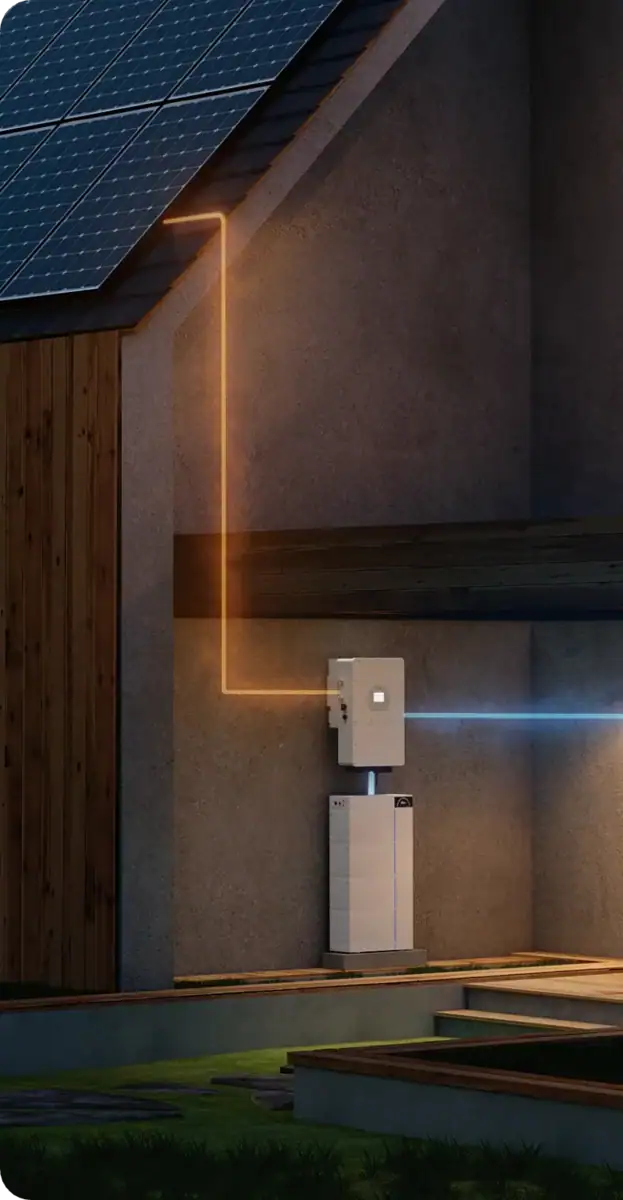
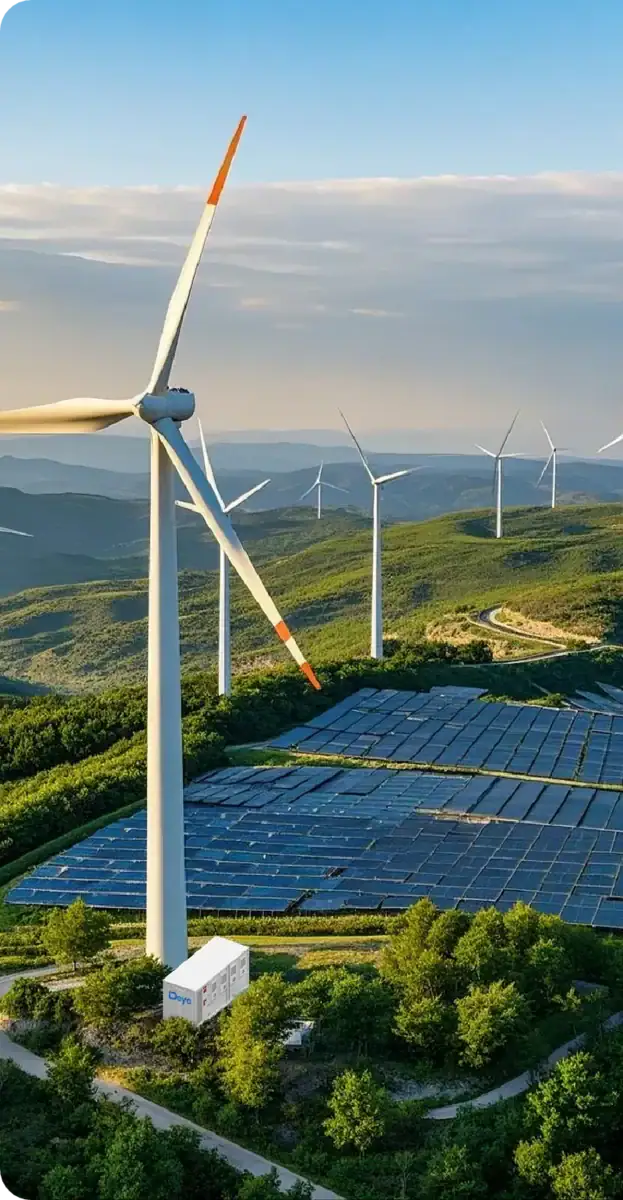
As the world increasingly seeks sustainable solutions to combat climate change, harnessing solar energy for air conditioning has become a compelling option. Building a solar-powered air conditioner not only aligns with eco-friendly practices but also offers independence from the conventional power grid, potentially reducing energy bills.
This article will guide you through the essentials of constructing a solar-powered air conditioner, detailing the components needed, the steps to assemble them, and the considerations to ensure your DIY project is both efficient and effective. Whether for a home, RV, or any space where cooling is desired, this guide aims to empower you with the knowledge to create your own eco-cooling system.
Understanding Solar Cooling Technology
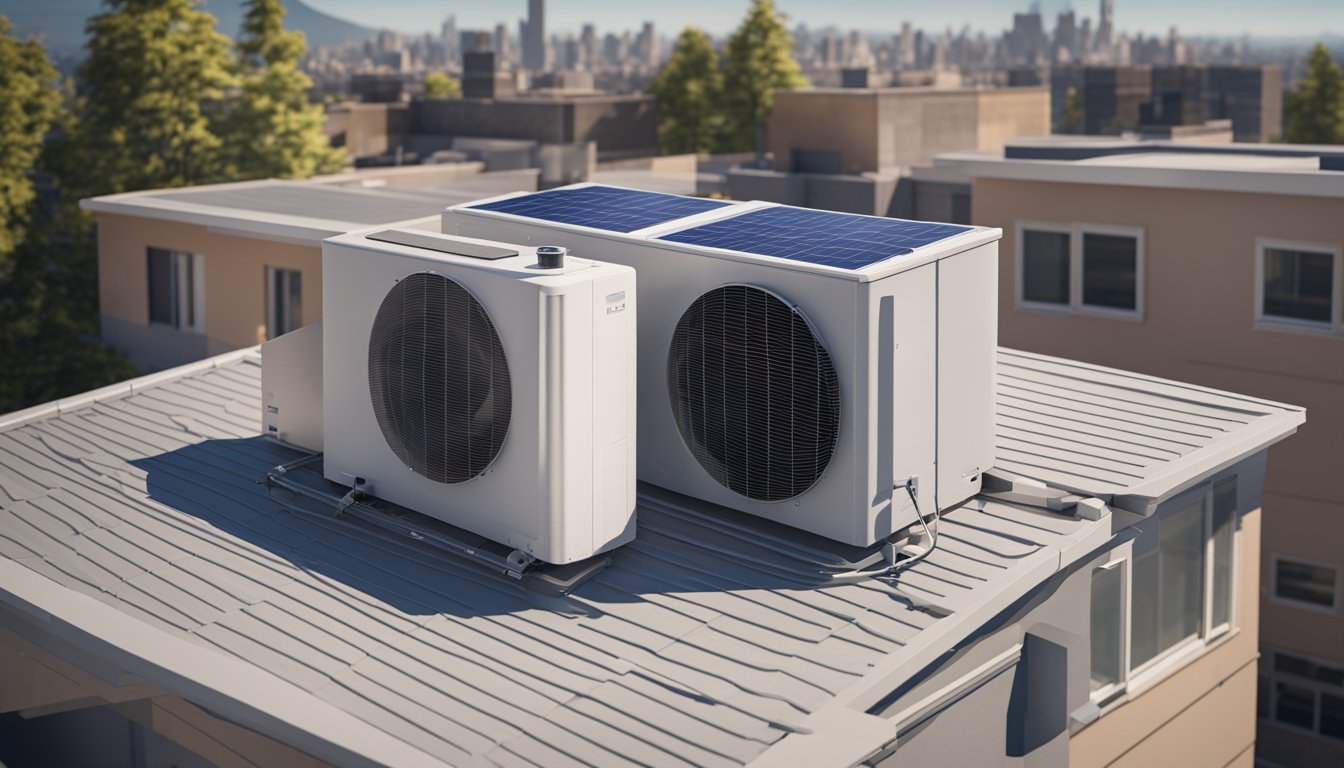
Solar cooling technology harnesses the power of the sun, a vast and renewable energy source, to operate air conditioning systems. By using solar panels, you can convert sunlight into electrical energy, which then powers your AC unit.
Key Components:
- Solar Panels: These capture sunlight and convert it to electricity.
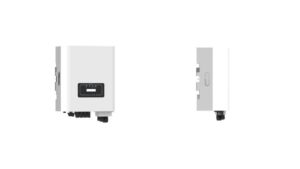
- Inverter: Converts the solar energy from DC to AC to power the air conditioner.
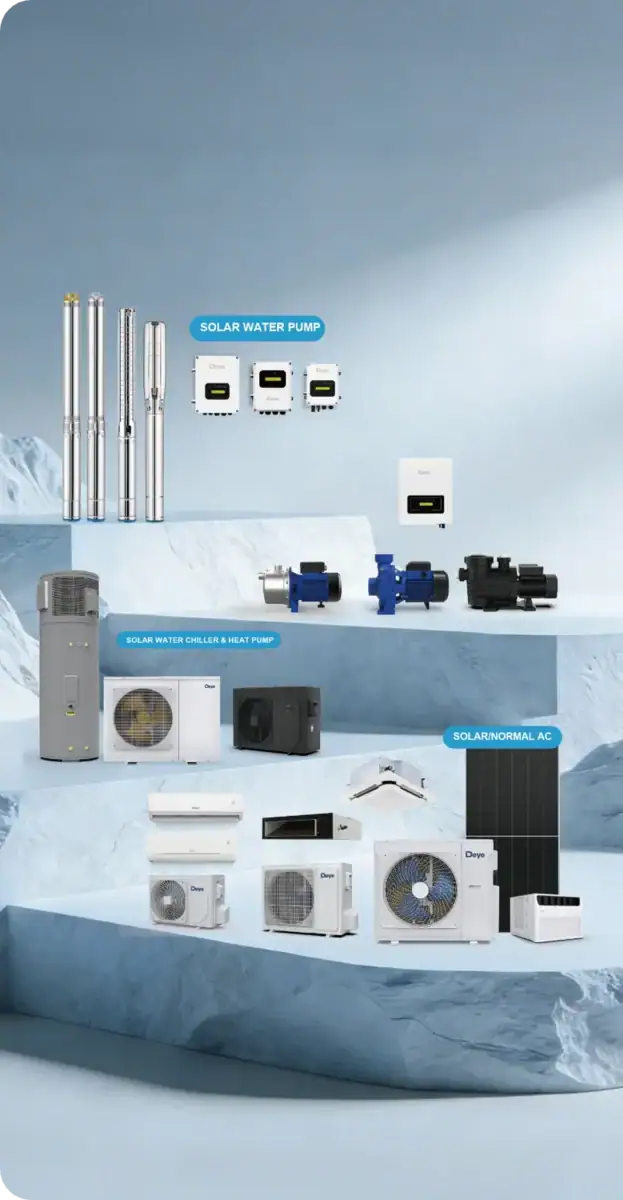
- Air Conditioning Unit: This can be a standard AC unit or one specifically designed for solar power.
How it Works:
- The solar panels collect solar energy during the day.
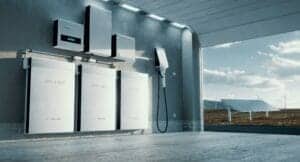
- This energy is either used immediately to power your air conditioner or stored in batteries for later use.
- The inverter, a critical component, ensures the electricity is in the appropriate form for your home appliances.
Efficiency Tips:
- Orientation of Solar Panels: Maximize sun exposure by pointing your solar panels true south (in the Northern Hemisphere) and tilting them at the appropriate angle for your location.
- Regular Maintenance: Ensure your solar panels and air conditioning system are free of debris and functioning optimally to maintain efficiency.
By understanding these fundamentals, you’re positioning yourself to make informed decisions about integrating a solar cooler or heater into your life.
Designing Your Solar Powered Air Conditioner

There are many types of air conditioners, like central air conditioners, window air conditioners, or portable air conditioners, and due to the length of this article, we cannot explain how to build each air conditioner in detail. However, here are some common installation skills.
When setting out to design a solar powered air conditioner, your key focus is to ensure optimal sun exposure for energy collection while balancing the cooling needs. Each component must be selected carefully to create a harmonious solar system that maximizes efficiency and sustainability.
Assessing Location and Sun Exposure
To start, pinpoint a location that receives maximum direct sunlight. Avoid areas with shade to ensure the solar panels can harness full sunlight throughout the day. This will optimize electricity generation and determine the number of panels needed.
Calculating Energy Requirements
Next, calculate the energy consumption of your air conditioner. Check the cooling power, usually measured in BTU (British Thermal Units), and convert it to watts to understand your system’s energy requirements. This will help in sizing your solar panels and battery bank appropriately.
Selecting Solar Panels and Battery Bank
Choosing the right solar panels involves matching their output in watts to your air conditioner’s energy consumption. For energy storage, a battery bank adequate to store the generated electricity is essential. The batteries should provide enough power to run the air conditioner even when it is cloudy day.
Choosing the Right Inverter and Charge Controller
An inverter converts the stored DC power from the batteries to AC power, which can be used by your air conditioner. Ensure it can handle the required voltage and amps. The solar charge controller regulates the voltage and current coming from the solar panels to the battery bank to prevent overcharging.
Planning the Air Conditioning Circuit
Design your AC circuit including a motor, pump, fan, and switches. Make sure all connections are secure and that the circuit can handle the amps and volts your air conditioner requires.
Air Flow and Cooling Mechanics
Your design must facilitate smooth airflow. Determine the best fan speed to circulate cool air efficiently within the space. A larger fan may be needed to dissipate heat effectively from the heat sink in your system.
Materials and Tools Required
You’ll need PVC pipe, copper tubing, screws, tape, zip ties, and glue for basic assembly. To connect electrical components, have a set of wire strippers, crimpers, and various connectors on hand.
Thermal Insulation and Efficiency
Incorporating insulation minimizes heat exchange and enhances cooling performance. Thermos materials or foam insulation panels can help prevent condensation and mold growth.
Designing for Ease of Use and Maintenance
Lastly, consider maintenance access in your design. A DIY solar powered air conditioner should not only be efficient but also user-friendly. Include a simplistic interface or thermostat, and ensure parts subject to wear are easily replaceable.
Assembling the Solar Powered Air Conditioner
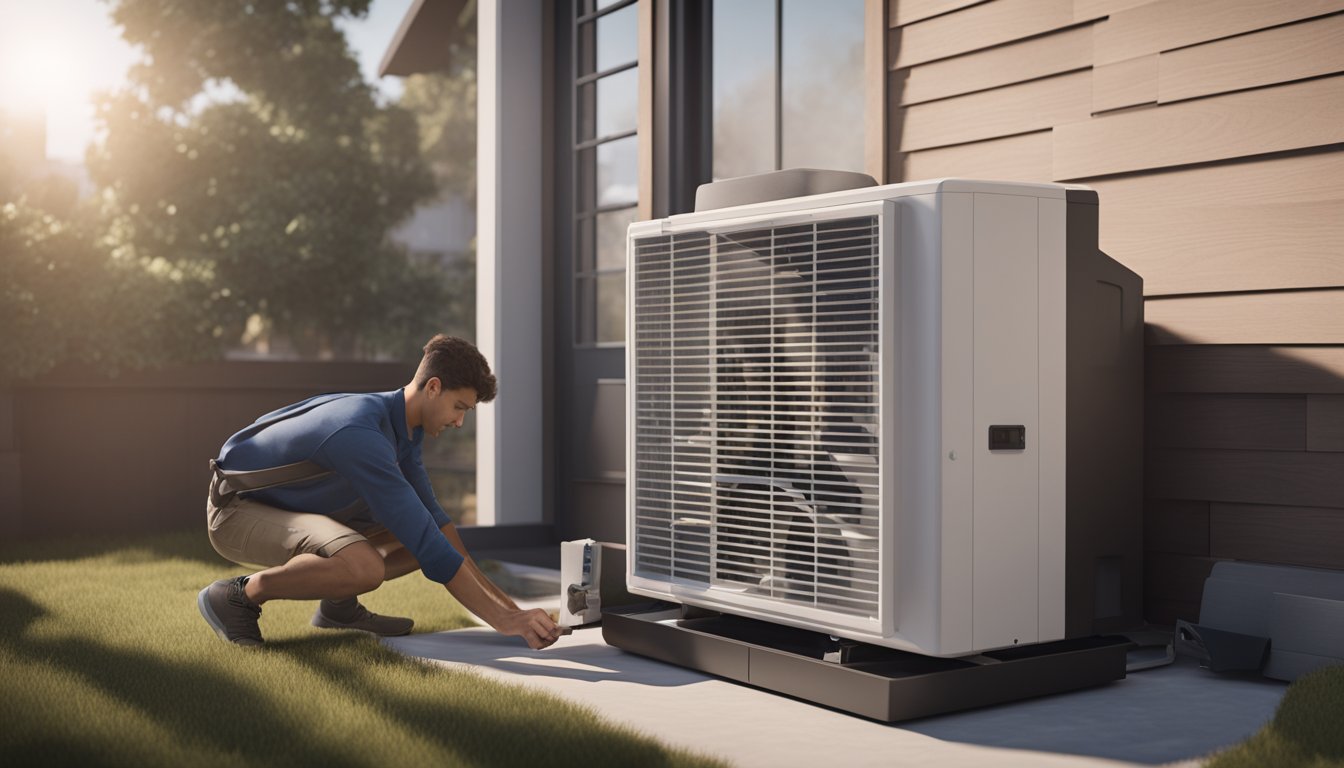
To build an efficient solar-powered air conditioner, you’ll need to focus on assembling a robust frame, installing solar components, properly wiring the system, setting up the cooling mechanism, and adding control features.
Constructing the Frame and Attachments
Your frame serves as the backbone of your solar-powered AC unit. Begin by designing a frame that can hold all the components securely. You can use PVC pipes for a lightweight and strong structure.
- Assemble the PVC pipes into your desired shape using PVC glue.
- Ensure there are attachments or brackets for securing the fan, the Peltier element, and the heat sink.
Installing Solar Panels and Batteries
Your air conditioner’s effectiveness relies on a consistent power supply from solar panels and batteries.
- Mount the solar panels on a stable surface where they’ll receive maximum sunlight.
- Connect the panels to a battery bank, which will store the energy for continuous operation.
Wiring Electrical Components
Proper wiring ensures that electricity flows safely and efficiently from the solar panels to the AC unit.
- Create a circuit that connects the solar panels, batteries, charge controller, and the AC unit.
- Use suitable wiring and make sure all connections are insulated and secure.
Setting Up the Cooling System
The cooling system is the heart of your air conditioner, consisting of a fan, heat sink, and Peltier element.
- Install the fan to draw in warm air, passing it over the heat sink to dissipate heat.
- Ensure the Peltier element is adequately cooled using a water flow system or another cooling agent to generate cool air.
Adding Control and Monitoring Features
To maintain efficiency and convenience, your solar AC needs a good control system.
- Install switches or a regulator to manage power consumption manually.
- Add thermometers to monitor the temperature and adjust settings for optimal cooling.
Testing and Troubleshooting

After you’ve assembled your solar-powered air conditioner, it’s important to test it to ensure that everything is working correctly. Start by checking the power supply. Connect your solar panel to the battery bank and ensure the charge controller indicates charging is taking place. If there’s no indication, confirm that all connections are secure and that the panels are receiving sunlight.
Next, turn on your air conditioning unit and observe. You should hear the fans running and feel air flow from the unit. If the air isn’t moving, check the air flow paths for obstructions and verify that the fans are connected properly to the power source.
Troubleshooting Tips:
- No Power: Ensure the battery is charged. Check all wires and connections for loose ends or corrosion.
- Weak Air Flow: Inspect the fans for dust or debris. Make sure they’re not obstructed.
- Air Conditioner Not Cooling: Confirm the coolant lines and water pump (if your system uses one) are functioning. A silent or non-vibrating pump may indicate a failure.
- Inconsistent Cooling: Test under various sunlight conditions. Make adjustments to the solar panel angle toward the sun as needed.
Lastly, if you face any issues that these steps don’t resolve, consult the manuals of your individual components. Each part may have specific troubleshooting steps recommended by the manufacturer. Keep patience and iteratively test each component until you isolate the problem. Remember, most issues can be resolved with careful observation and a bit of tinkering.
Final Preparations and Safety Checks
Before you switch on your newly constructed solar-powered air conditioner, it’s crucial to run through a series of final preparations and safety checks to ensure that everything is set up correctly and securely. Your safety is paramount, so take your time during this process.
- Check All Connections: Go through all your wiring connections to guarantee they are firm and correctly insulated. Use electrical tape where necessary to secure connections and avoid any potential short circuits.
- Tighten Screws: Ensure all components are fastened securely with their respective screws. Loose parts can lead to inefficiencies or damage when the unit is operating.
- Inspect Solar Panels: Ensure your solar panels are properly positioned and securely mounted. They should be free from obstructions to receive optimal sunlight.
- Battery Banks and Inverters: Verify that your battery bank is fully charged and that your inverter is functioning properly. It’s essential to have a consistent power supply once you start using the air conditioner.
- Test Fans: Confirm that the fans are operational and the airflow is unobstructed. Proper airflow is essential for the efficiency of your air conditioner.
- Safety Gear: When making any last-minute adjustments, remember to wear safety gear, such as gloves and eye protection, especially if you need to handle solar panels or electrical components.
After you have completed these checks, your solar-powered air conditioner should be ready to cool your space sustainably.
In embracing the DIY spirit and environmental consciousness, constructing a solar-powered air conditioner represents a significant step towards sustainable living. By following the guidelines provided, you can transform the abundant energy of the sun into a reliable source of comfort for your cooling needs. While the initial setup may require some investment and effort, the long-term benefits of reduced utility costs and a smaller carbon footprint are invaluable. As solar technology continues to advance, it is likely that more individuals will turn to solar-powered solutions, making eco-cooling an accessible and responsible choice for the future.

